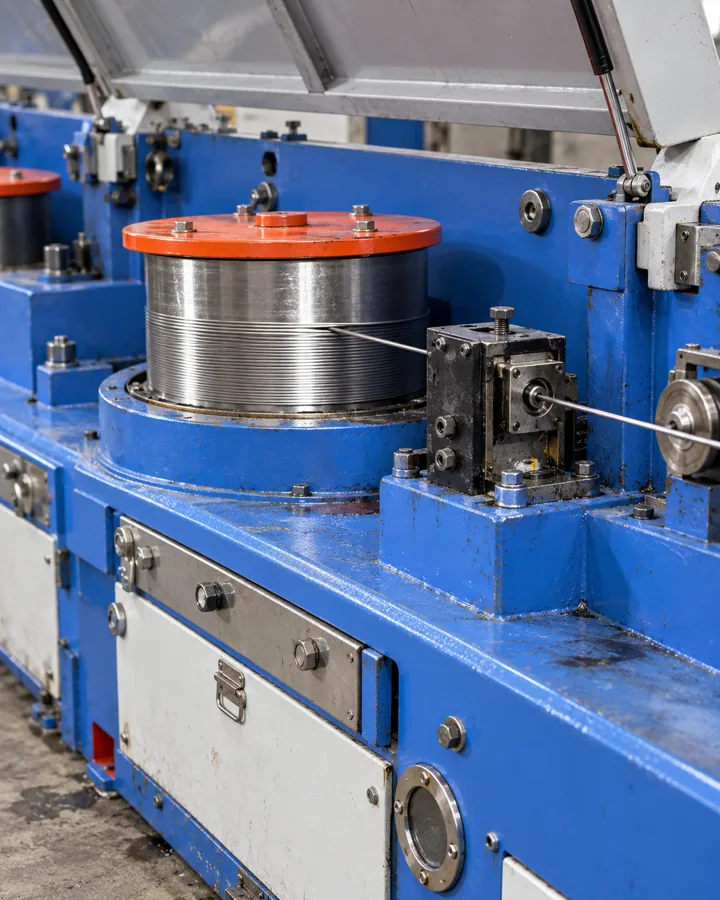
Fine Cut-Wire Media for Small Steel Components
For small steel hardware, media selection starts with the smallest opening and the thinnest functional edge. We list steel and stainless media candidates, but a catalogue size alone cannot establish suitability. Define the part features, separator limits and acceptable surface change before choosing a sample or requesting a production quote.
Map openings before choosing a nominal size
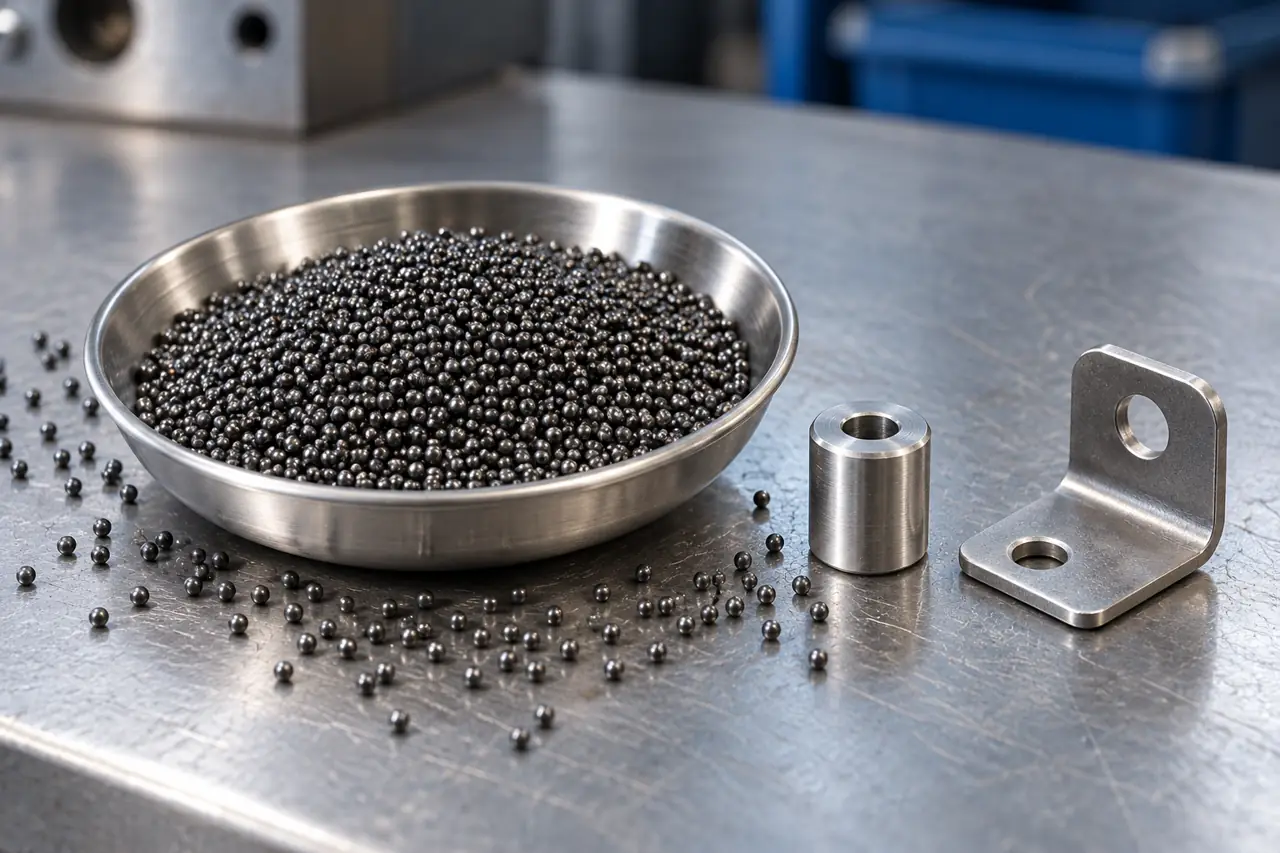
List through-holes, blind holes, slots, threads and overlapping surfaces separately. Record the narrowest accessible passage and the place where a particle could remain after discharge. A media size that passes through one opening may still lodge at a shoulder or in a blind feature.
Treat particle shape as a separate requirement
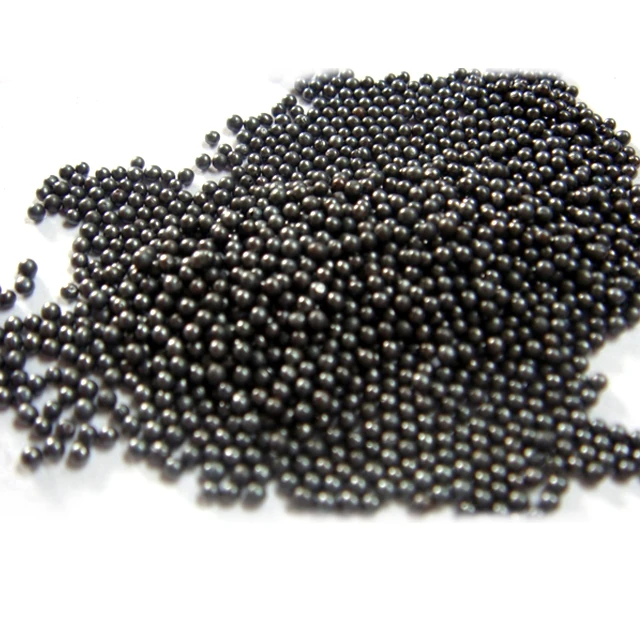
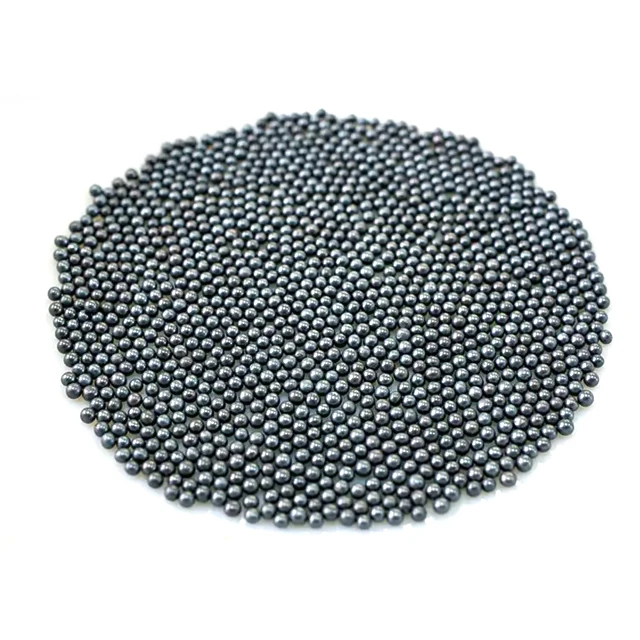
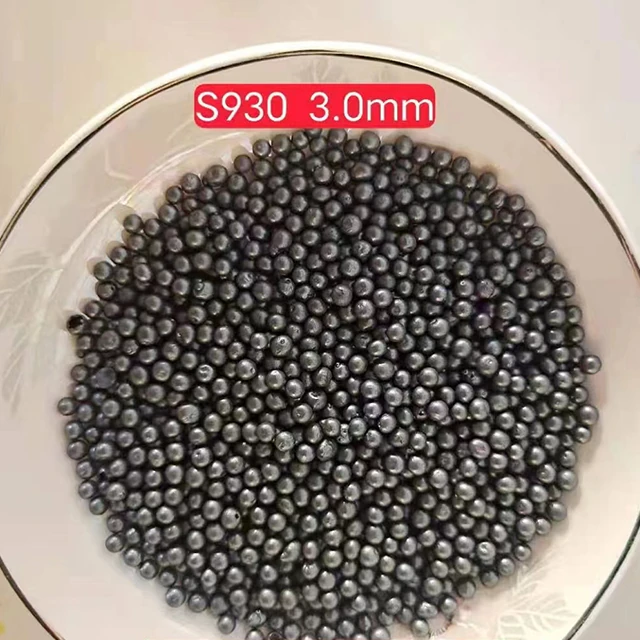
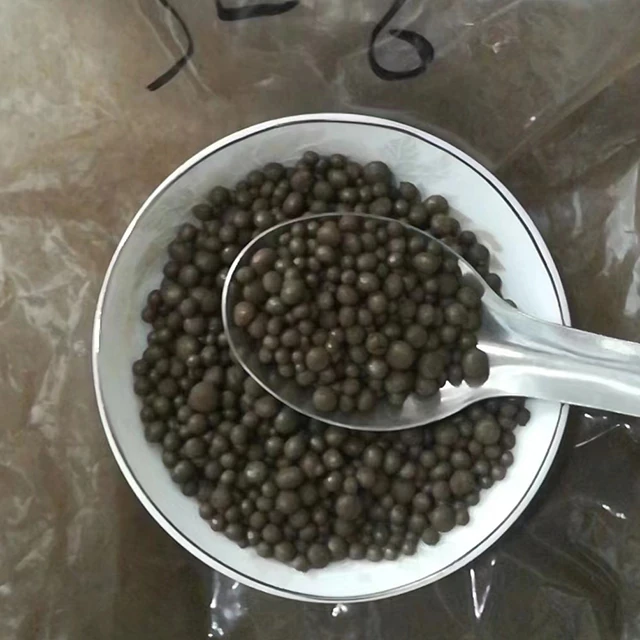
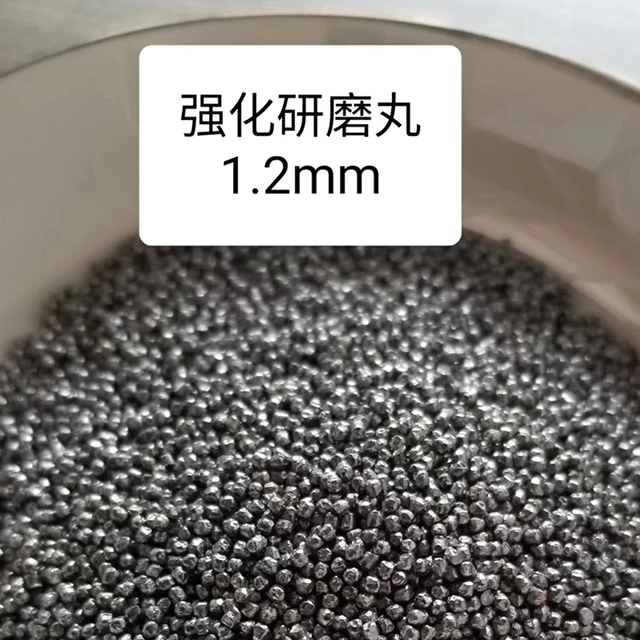
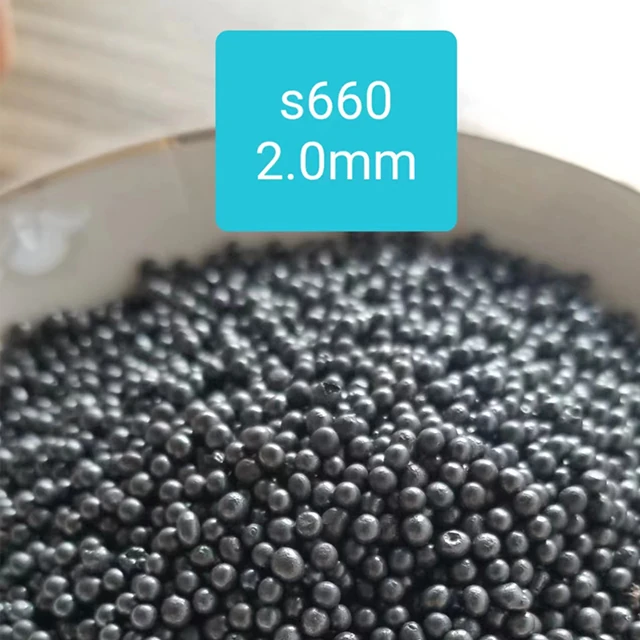
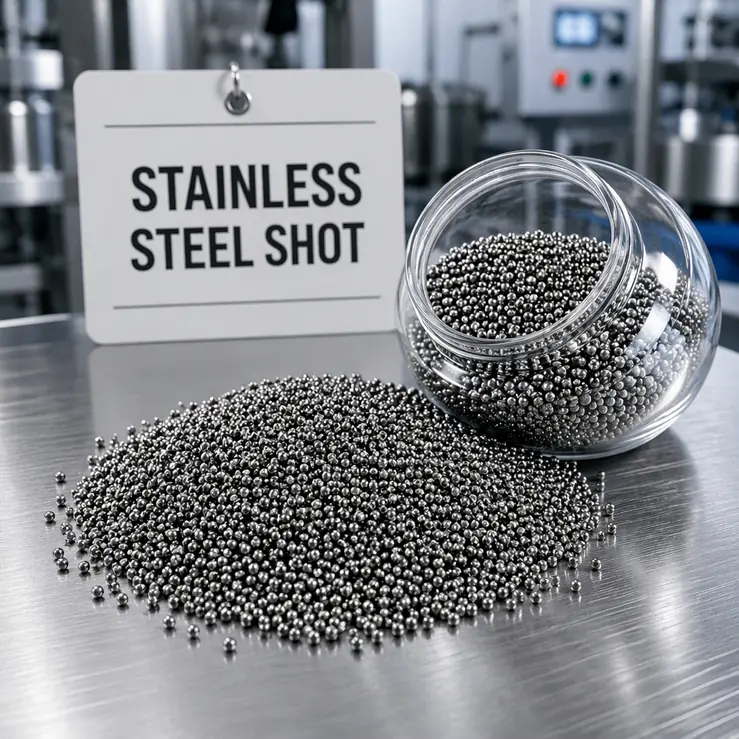
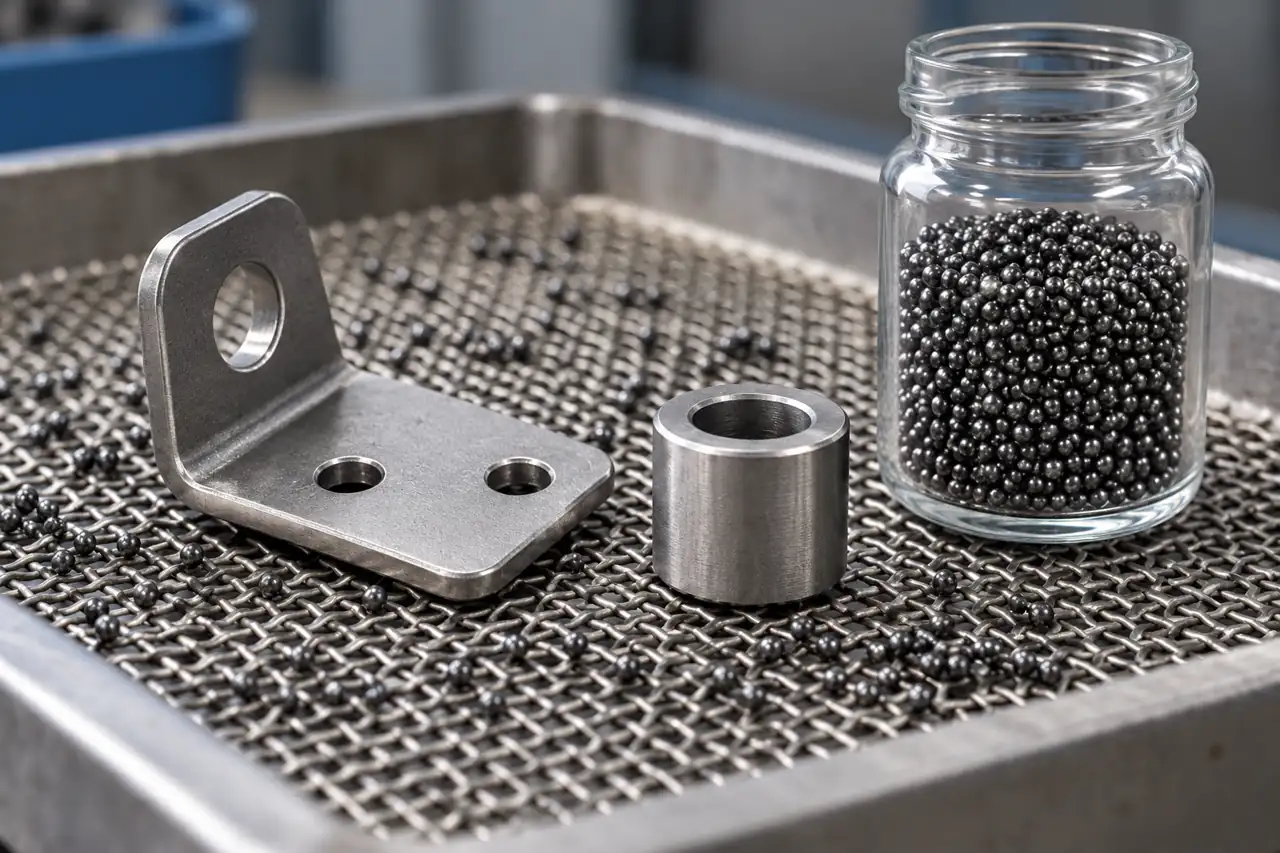
Cut-wire media can be offered in different conditioning states. Ask for the actual supplied shape and a representative close image rather than inferring shape from a product name. The rounded media shown here are illustrations; the approved specification must identify the condition you will actually receive.
Compare distributions rather than one size label
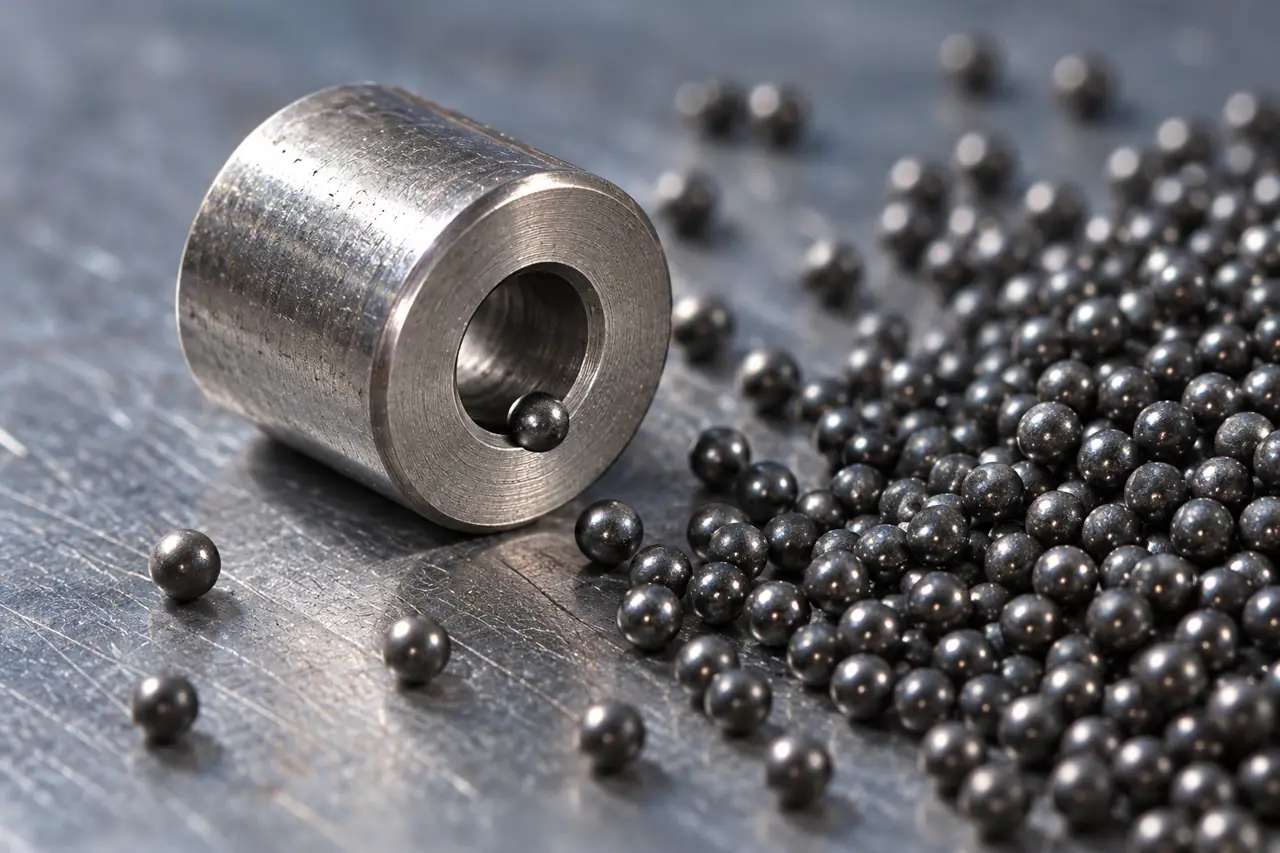
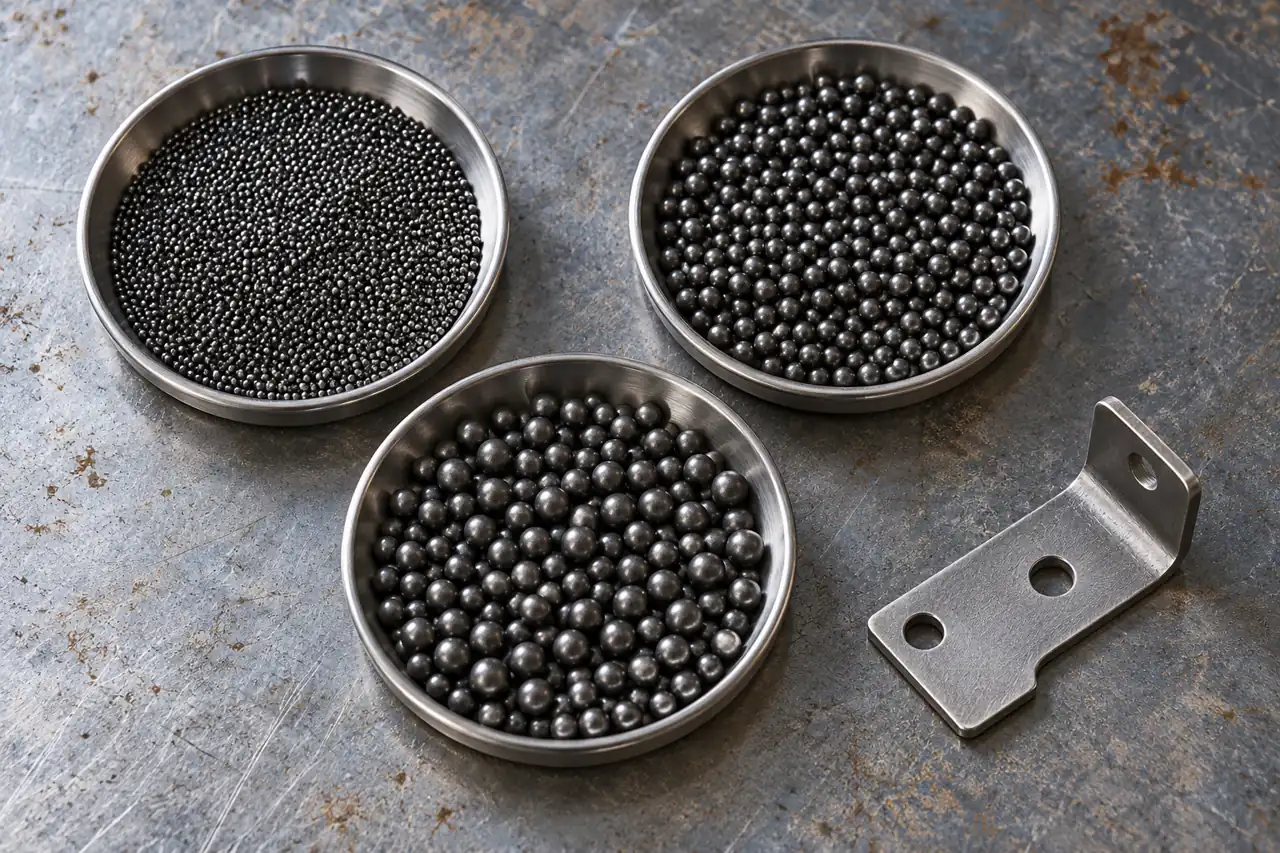
A nominal diameter does not describe every particle in a bag. Request the grading basis and the agreed treatment of oversize, undersize and irregular particles. Match the proposed distribution to both the part geometry and the machine separation system; do not substitute an unrelated grit designation.
Protect thin features during the first trial
Use representative parts with the real material, heat treatment and prior surface condition. Keep trial settings and loading recorded, then inspect the thin edges and functional surfaces before judging appearance. A cleaner-looking part is not acceptable if a hole, thread or edge no longer meets its drawing.
Inspect retention after the normal separation cycle
Evaluate media removal using the discharge and cleaning sequence your production line will use. Check the difficult features after that sequence, rather than hand-cleaning the sample into an unrepresentative result. Agree how retained particles will be detected and what constitutes a failed trial before making a larger commitment.
Keep surface and dimensional acceptance together
Inspect surface condition alongside the dimensions that make the hardware work. Compare treated parts with the agreed starting condition and approved drawing. Keep photographs useful by recording the inspection area and sample identity; an image without scale or context cannot establish a dimensional result.
Retain the trial sample identity for repeat orders
Record the proposed material, particle condition, grading reference and sample batch with the trial result. If a production offer changes one of those elements, review the change before release. A successful small sample does not automatically approve every later shipment described by the same commercial product name.
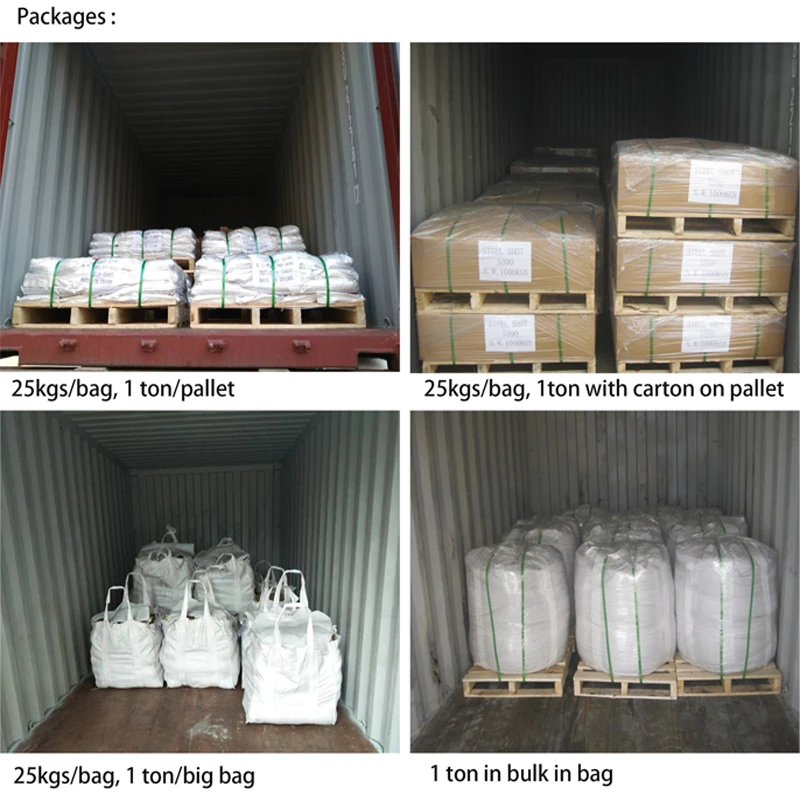
Pack fine media to preserve batch separation
Specify package size, handling conditions and the identification needed at receiving. Keep different grades and trial candidates separated so they cannot be mixed at the machine. Confirm the actual packaging and commercial terms in the offer, including sample availability, order quantity and delivery destination.
Send a part-focused media enquiry
Share the part drawing or clear feature photographs, current media details, machine type and separator information. Add the surface target, dimensions to protect and the trial quantity you need. We can then discuss the relevant catalogue candidate and confirm the actual scope of sample supply, documentation and quotation.